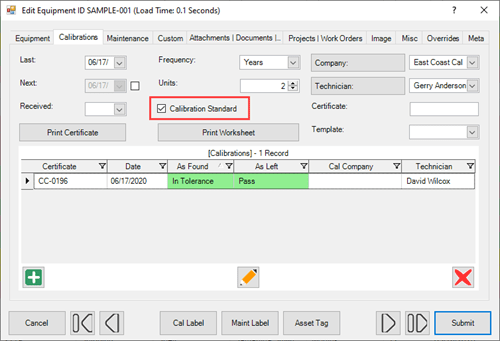
Asset Issue & Receive Dialogs
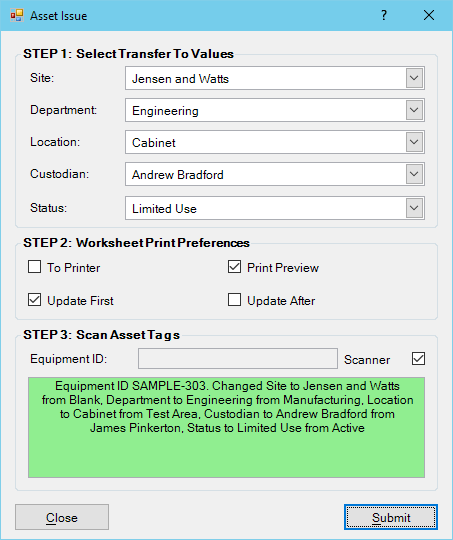
Asset Issue Dialog
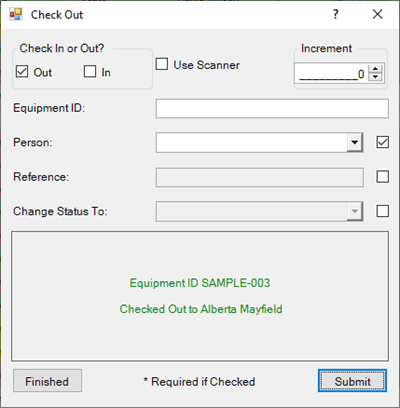
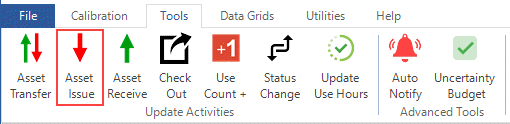
The Asset Issue dialog quickly issues equipment using specified values and saves a history note to that specific equipment's Notes tab. Open the Asset Issue dialog by clicking on the red arrow icon in the Tools tab of the ribbon menu. For convenience, the Site, Department, Location, Custodian, and Status selections will be remembered by the software until they are changed.
3-Step Process to Issue Equipment
- STEP 1: Select the Site, Department, Location, Custodian, or Status that the equipment is going to be issued to. Unused selections may be left blank.
- STEP 2: Check the box next to the desired Print and Update selections.
- STEP 3: Type the equipment ID in the provided box or check the 'Scanner' box to scan an asset tag, and then click [Submit].
The new information will be displayed in the info box once the Asset Issue has been submitted.
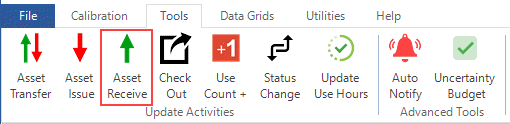
Asset Receive Dialog
The Asset Receive dialog has all the same features as the Asset Issue dialog. Open the Asset Receive dialog by clicking on the green arrow icon in the Tools tab of the ribbon menu.
3-Step Process to Receive Equipment
- STEP 1: Select the Site, Department, Location, Custodian, or Status that the equipment is going to be received to. Unused selections may be left blank.
- STEP 2: Check the box next to the desired Print and Update selections.
- STEP 3: Type the equipment ID in the provided box or check the 'Scanner' box to scan an asset tag, and then click [Submit].
The new information will be displayed in the info box once the Asset Receive has been submitted.