Custom Calibration Certificate
Customize the calibration certificate, along with all the default report templates, using the built-in Report Designer. You can easily add more information, change existing text, font, size, color, etc. If you require more advanced customization such as adding an additional data field, it's best to contact us for assistance. However, adding your company's logo can be done in just a few steps.
How to Add a Logo to the Default Report
-
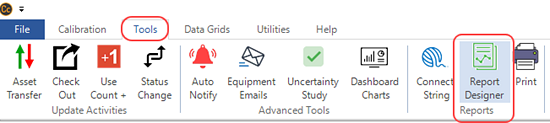
Open Report Designer, under the Tools tab of the top ribbon menu.
- Click to [Open] and select which report template you want to work with (e.g., CalibrationCertificate.rpx).
-
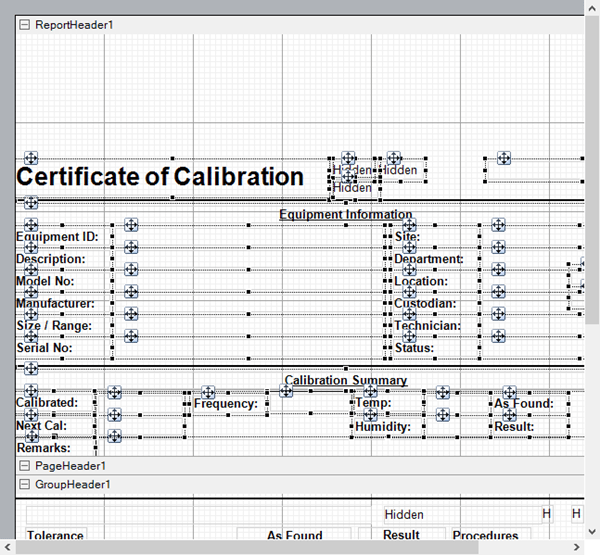
If adding your logo to the top of the report (certificate), it's easiest to do this by first pulling down the Report Header section divider to make room. Then, by highlighting all existing fields (hold down mouse and highlight all content), you can drag the existing fields lower down at the same time. It may take a minute for the program to respond and move them all together. Note: If the program shows "(Not Responding)", you can allow it some time to load or close out of the software and reopen. Then, repeat the process but highlight and drag smaller groups of fields at a time.
-
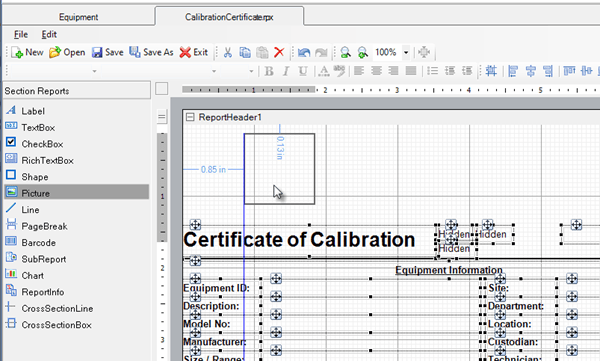
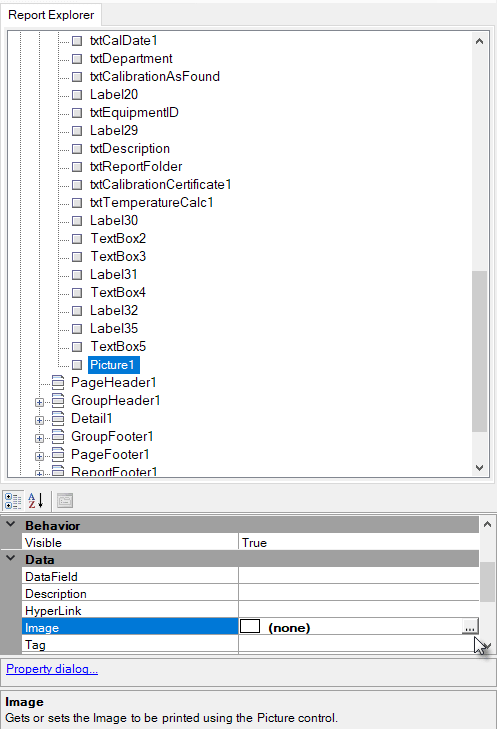
Then, you can click on [Picture] on the left-hand side and drag a box over to the report. This will be the container that holds your logo. You can adjust the size of the box but it will not adjust the size of your image.
-
You can upload the graphic image you want to use. Note, no photo editing is done within the Report Designer, so you may need to go back to the image itself to resize and make adjustments beforehand.
To upload your logo, click the picture box and on the right-side Properties. Then, click on the "Image" line (in the Data section) and select the [...] box to browse and select your logo. Note: In Properties, under the Layout group, the SizeMode will determine how your image displays within the Picture box. Clip is the default setting, however you can select the option that displays your image best.
- Then, click [Save As] and name your custom report something like "CalibrationCertificate_CustomLogo", for example. If you'd like to preview your customized certificate, you'll need to print it from an Equipment's Calibration record. You can either change your default certificate in Options > Reports & Label or override an Equipment record's Calibration Cert.